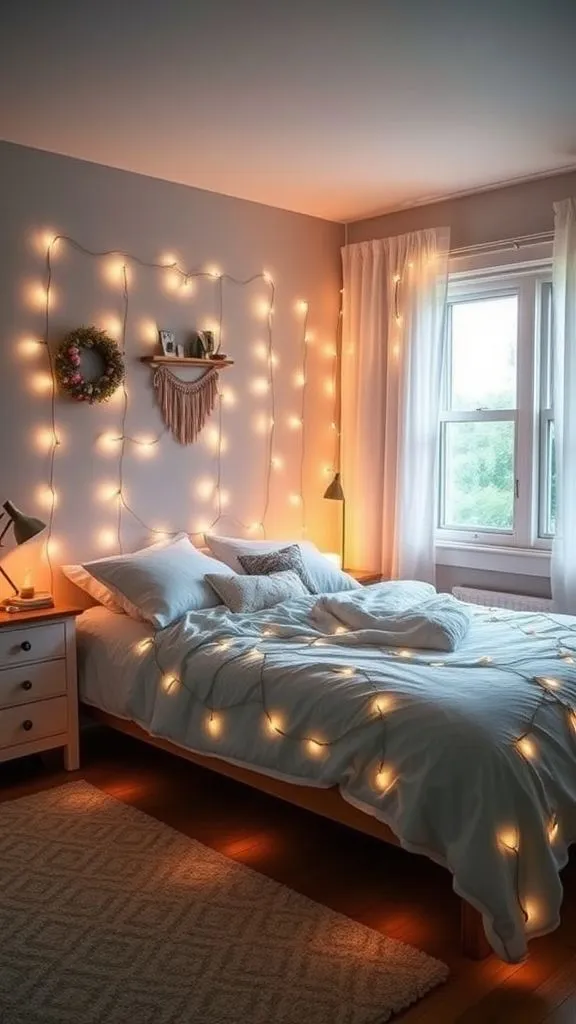
There’s something beautiful about stepping into a bedroom enveloped in the warm glow of glittering lights. I’ll never forget the first time I strung fairy lights over my bed—it turned my home from mundane to beautiful in just one evening.
Whether you want to create a comfortable reading corner or a dreamy retreat to rest after a hard day, fairy lights provide unlimited choices. They’re affordable, easy to install, and instantly bring warmth to any area.
The best part? You don’t need to be a décor genius to make them work. With just a little ingenuity and the correct technique, you can change your bedroom into a personalized retreat that represents your style and mood.
1. Gathering Everything You’ll Need Before You Start
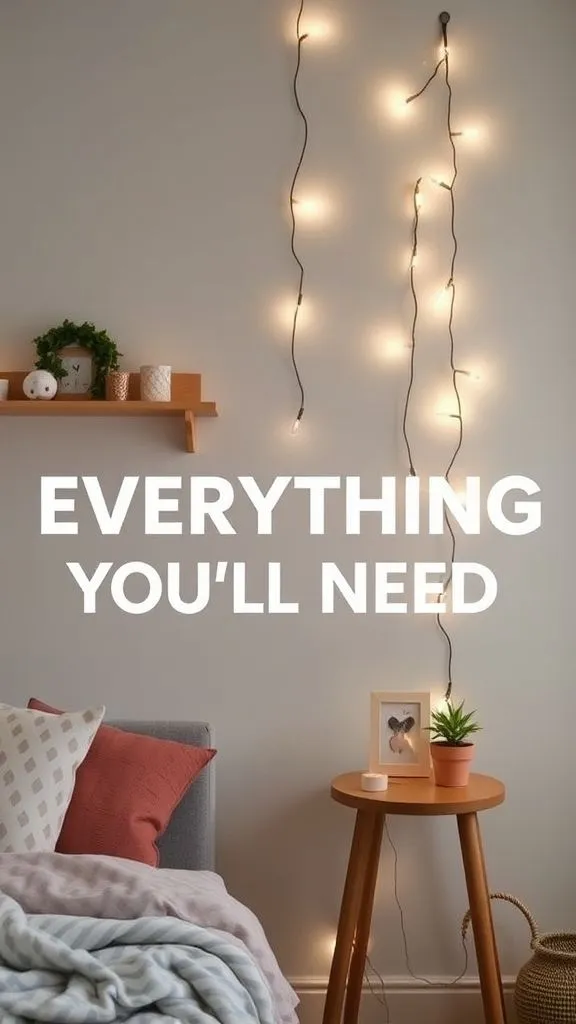
Before you mount the ladder or grab your hammer, let’s talk supplies. You’ll need your fairy lights (obviously!), but also consider the length—measure your space first so you don’t finish up short. Grab some adhesive hooks, small nails, or command strips, depending on your wall type and commitment level.
Don’t forget a tape measure, a pencil for noting areas, and maybe some masking tape for temporary placement testing. If you’re working with battery-powered lights, stock up on extras. For plug-in versions, check that your extension cord reaches comfortably.
Pro tip: keep scissors accessible for opening packages and a step stool for those higher areas. Having everything within arm’s reach makes the process smoother and considerably less frustrating than going to the store mid-project.
2. Mapping Out Your Dream Design First

Honestly, this step saves so much hassle later. Grab your phone and draw out where you want those lights to go—or just use painter’s tape to define the pattern straight on your walls. Consider emphasis areas like your headboard, windows, or that bare wall calling for attention.
Think about whether you want a regimented geometric pattern or something more organic and flowing. Stand back and imagine the final design from different angles, especially from your bed, where you’ll see it most.
Do you want lights framing your space or creating a specific vibe in one corner? Remember that less is sometimes more—you don’t need to cover every inch. Take your time with this planning phase since moving lights after installation is tedious, trust me.
3. Installing Your Lights the Right Way
Now comes the fun part—actually putting those lights up! There are numerous options to choose from based on your demands and how permanent you want the installation to be. Each strategy has its own perks, so pick what works best for your situation.
Using Adhesive Hooks for Damage-Free Walls

Perfect for renters or anyone who doesn’t want permanent marks! Clean your wall surface thoroughly with rubbing alcohol and let it dry completely—this step is vital for optimal adherence. Space your sticky hooks around 12-18 inches apart along your selected route, pushing firmly for 30 seconds each.
Wait the recommended time (typically 24 hours) before hanging your lights to ensure the hooks connect correctly. These perform great on smooth surfaces but could struggle on textured walls.
The beauty here is easy removal when you’re ready for a change. Just follow the removal directions carefully to avoid peeling paint. I’ve used this strategy in three separate apartments and never lost my security deposit!
Creating Permanent Anchor Points with Small Nails
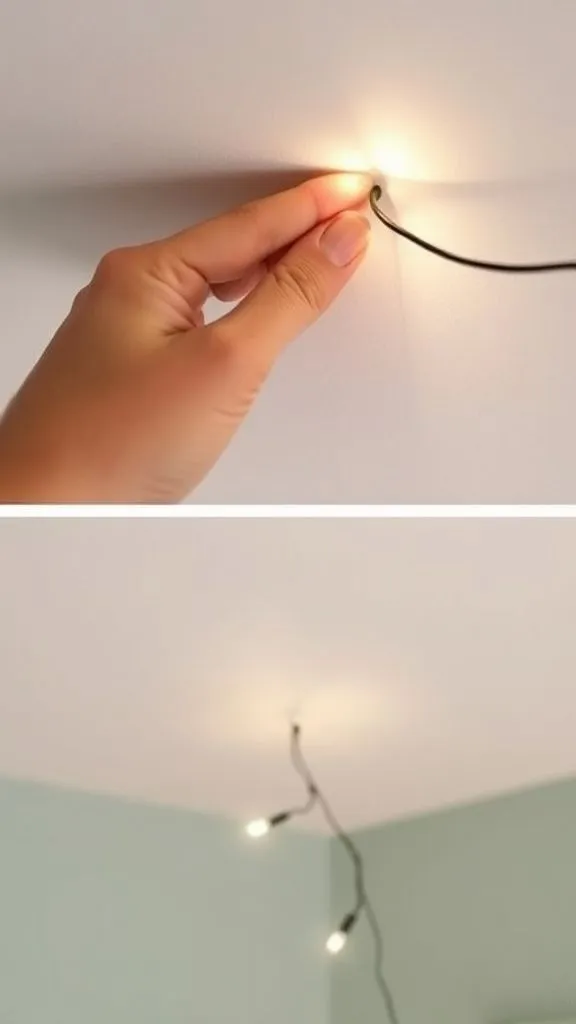
If you own your space or don’t mind tiny holes, little finishing nails offer rock-solid support. Choose nails that are thin enough not to damage your lights but robust enough to grip. Mark your positions with a pencil first, then hammer softly at a small upward angle so the lights lie securely.
You’ll want nails every 10-15 inches to avoid sagging. This method allows you the most freedom with heavier light strands or more intricate designs. The holes are minimal and readily repaired with spackle if you remodel later.
It’s also the most reliable option for ceiling installations where adhesive might fail over time due to gravity and temperature changes.
Attaching with Mini Clips for Precise Placement
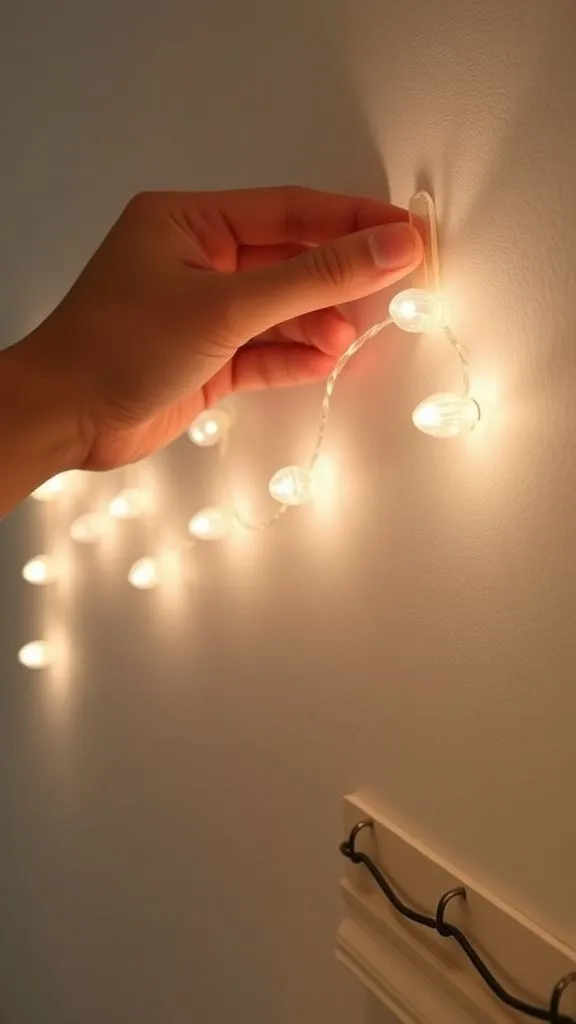
These tiny transparent clips are game-changers for intricate routing! They cling to walls with adhesive backing and include a little groove that retains your wire exactly where you want it. Space them closer together—about 6-8 inches—for bends and corners.
They’re especially useful when you’re creating specific shapes like stars or hearts, or when following architectural features like crown molding. The clips are scarcely visible once installed, letting your lights appear to float magically. They work nicely in tandem with other approaches, too.
Maybe use hooks for the primary support and clips for fine-tuning the shape. They’re incredibly economical and come in packs of 100, so you’ll have plenty to experiment with different patterns.
4. Keeping Safety Front and Center
Let’s go serious for a moment—safety isn’t boring, it’s crucial. Always check that your fairy lights have suitable certification marks and aren’t damaged before installation. Never overload electrical outlets by inserting too many strands into one socket.
Keep lights away from fabrics that could overheat, and never drape them over lampshades or heat sources. Battery-operated choices are safer near curtains or bedding. Check your lights routinely for frayed wires or broken bulbs, changing them quickly if you detect difficulties.
Consider putting plug-in lights on a timer so they’re not running all night while you sleep. LED lights stay cooler and consume less energy, making them the smartest choice. Remember, a gorgeous bedroom isn’t worth risking a fire threat, so take these steps carefully and sleep soundly knowing your setting is secure.
5. Inspiring Design Concepts to Make Your Room Unique
Ready to get creative? Let’s explore some stunning arrangements that’ll make your bedroom Instagram-worthy while keeping things totally achievable.
Creating a Magical Canopy Above Your Headboard
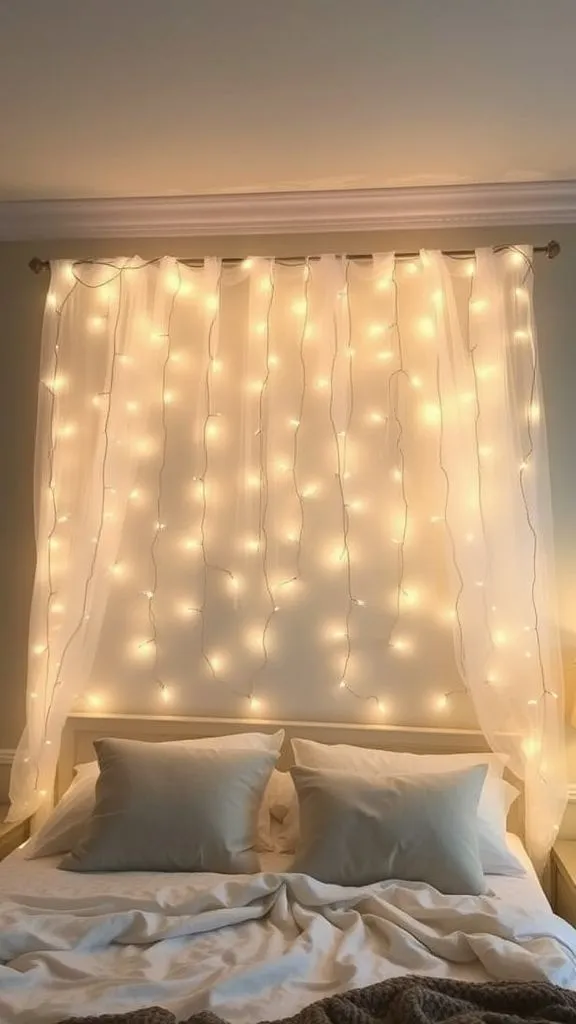
This timeless look never gets old! Drape fairy lights from the ceiling down below your headboard, creating a cascading waterfall impression. You can leave them hanging straight or swag them softly for a softer effect. Layer numerous strands for extra fullness, or keep it basic with just one or two.
Add translucent fabric like tulle or mosquito netting threaded through the lights for an ethereal vibe. This configuration works very nicely with warm white or soft gold lighting.
The effect is pure romance and makes nighttime feel like withdrawing into your own secret sanctuary. It’s shockingly simple to achieve but looks professionally planned.
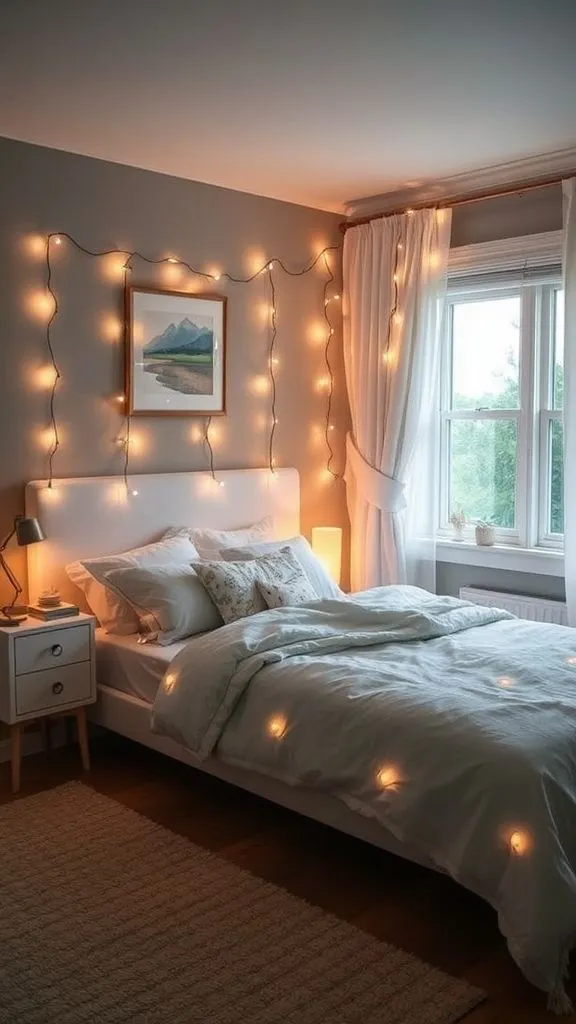
Highlighting Your Favorite Photos with Gentle Illumination
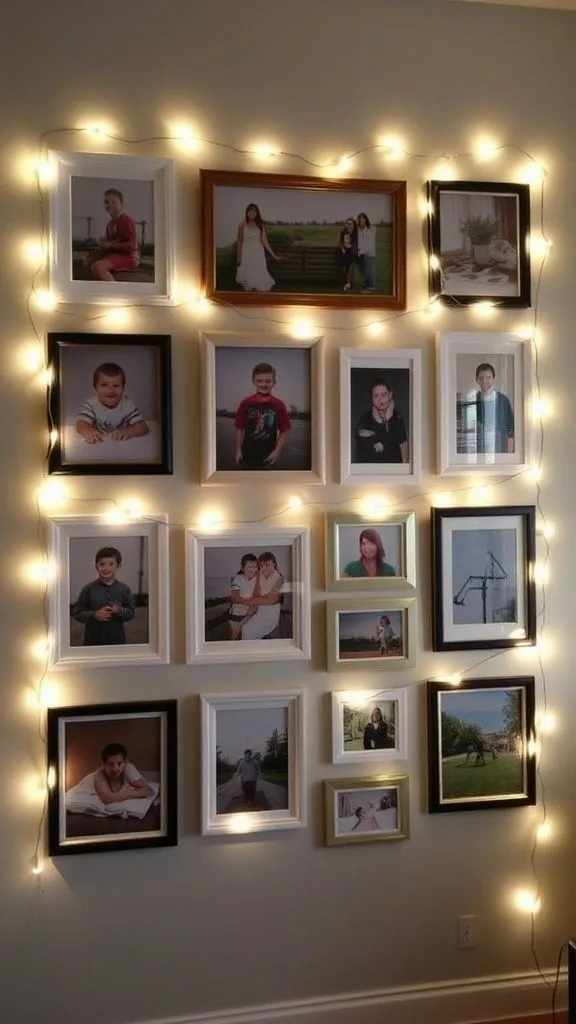
Turn your photo wall into a sparkling gallery by threading lights around your image frames. Outline the entire collection’s perimeter or crisscross across frames for visual intrigue. This draws attention to your memories while adding functional ambient lighting.
Use clips to keep the wire taut and clean between photographs. The subtle glow gives depth and character that ordinary overhead lighting just can’t match. It’s excellent for renters as you’re dealing with current frame layouts.
Change your photographs seasonally and change the lights accordingly for a fresh appearance whenever you desire. This approach combines personalization with practicality beautifully.
Designing Suspended Cloud-Like Formations
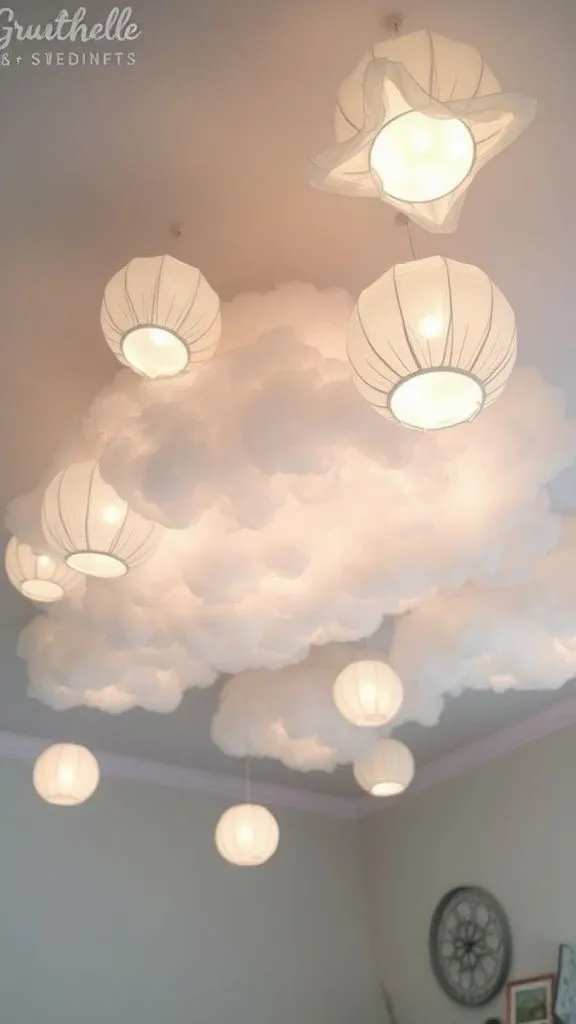
Here’s something unexpected—stuff lights inside paper lanterns or sheer fabric to create floating cloud effects! Hang many at varied heights from the ceiling using fishing line for an inconspicuous suspension.
Cluster them over one corner or scatter them across the entire ceiling like a lovely sky. You can even place cotton batting around the LEDs for a more cloudy effect. This whimsical approach works wonderfully in kids’ rooms, but adults love it too.
The diffused light creates the coziest mood possible. Just ensure the materials aren’t contacting hot bulbs, which is why LED lights are vital for this procedure.
Accentuating Windows for Natural Architectural Beauty
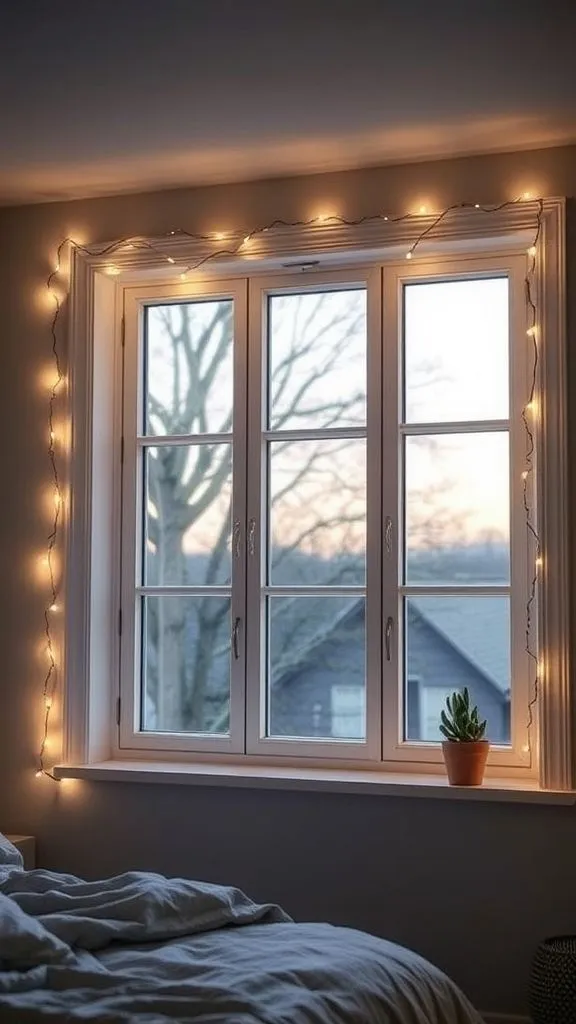
Frame your windows with fairy lights to accentuate natural light during the day and generate warmth at night. Run them around the window frame’s interior border or drape them across the top like a valance. This brightens up the space without blocking your view or natural light.
Layer with curtains for texture or keep it simple for modern minimalism. Window lights seem especially lovely during later hours as the outside darkens. They also reflect nicely in the glass, producing a twofold impression. This arrangement works in any type of bedroom, from bohemian to contemporary.
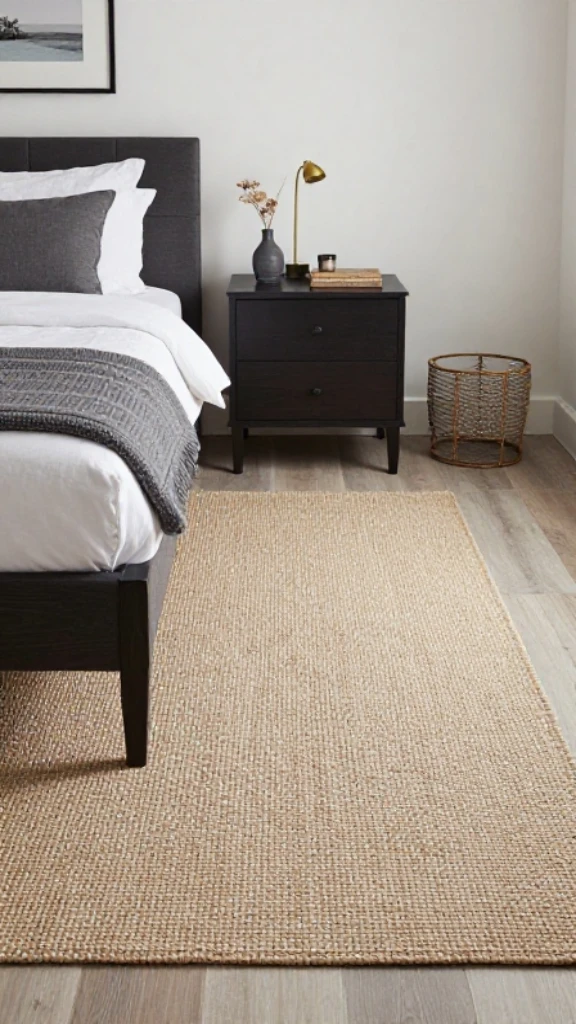
Adding Subtle Accents to Furniture Pieces
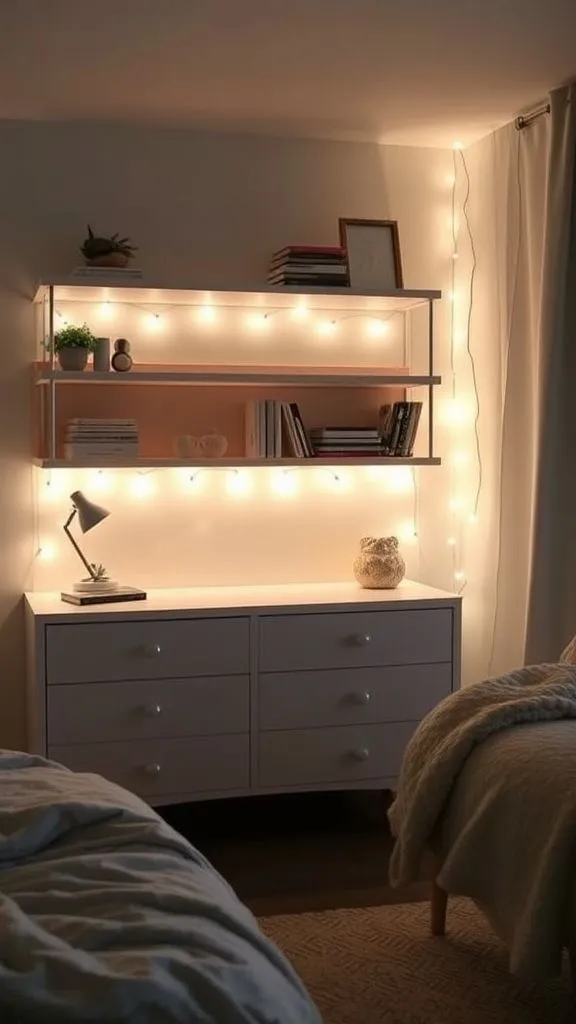
Don’t limit yourself to walls! Tuck lights beneath your headboard, along shelving units, or under your bed frame for a floating impression. Weave them through bookcase items to emphasize your favorite objects. Outline your mirror or dresser for efficient yet attractive lighting.
This creates layers of light at varying heights, making your area feel more dynamic and deliberate. The key is keeping the light source hidden while letting the glow shine through. It’s like putting secret pockets of magic around your area.
This technique works especially well for mood lighting during movie nights or when you desire softer illumination than overhead lights provide.
Fixing Problems That Might Pop Up
Lights not turning on? Check the outlet first, then test with another device. If certain lights are out, one defective bulb can affect the whole strand—replace it and see if it fixes the problems. Lights tumbling down?
Your adhesive might not have set sufficiently, or your walls might be too rough for the approach you picked. Flickering issues often mean loose connections or a depleting battery. Tangled lights are preventable—wrap them securely after purchasing and use cable ties before hanging.
If the lights look uneven after installation, fix the gap between hooks or clips. Sometimes stepping back and seeing from a distance helps you spot what needs fixing.
6. Making Your Bedroom Dreams a Reality
You’ve got all the knowledge, the tools, and the inspiration—now it’s time to actually accomplish this! Don’t overthink it or aspire for perfection on your first effort. Start with one simple design and build from there as you gain confidence.
Remember that your bedroom is your own getaway, so create something that makes you smile every time you come in. Experiment with different light colors, intensities, and patterns until you discover what seems best.
The beauty of fairy lights is their flexibility—you can always change and redesign whenever the whim strikes. Take a snapshot when you’re done and feel pleased with what you’ve made. Your cozy, glowing sanctuary is waiting, so grab those lights and transform your space tonight. Sweet dreams in your freshly amazing bedroom!

- Radiant Ambiance Creation: 💫 Elevate your indoor and outdoor spaces with the Desidiya LED Rice Light, a versatile 10-met…
- Versatile Decor Possibilities: 🏡 Whether you’re decorating a room, patio, garden, or any festive occasion, these lights …
- 10-Meter Length: 📏 The generous length of the LED strip provides ample coverage, allowing you to effortlessly weave thes…
- Package Contain: 1pc 40LED Warm White String Light
- Flexibility: Easy to shape and bend, Easy to install with minimal effort
- Power Source: 2-Pin Plugin Jointer-friendly

- ★【Purchase without any worries】Please rest assured that you have made the right purchase. Xergy solar lights is your bes…

- ABOUT THE PRODUCT: This light decoration set includes a 14-feet string of ball lights, this is a cord light. Featuring 1…
- VERSATILE DECORATION: This Led string lights is ideal for a wide range of occasions. This string light has warm glow and…
- ENERGY-EFFICIENT DECORATIVE LIGHTS : The LED design not only ensures low energy consumption but also boasts a long lifes…
- Battery Operated Fairy Lights: Enjoy the ease of Homesake’s 50 LED fairy lights, perfect for room decoration and Diwali …
- Diwali Decor Items: Enhance your Diwali decor items with these elegant string lights. The 5-meter length provides ample …
- Decorative Lights for Home: Transform your home with Homesake’s decorative lights. These warm white fairy lights are per…

- ⭐ 8 Lighting Modes : This curtain light is one button control, press the button you can select 8 different modes to meet…
- ⭐ Easy to use : 12 Stars(2 sizes), total 138pcs LED curtain string lights, Low voltage and ul Listed power supply, direc…
- ⭐ Widely Used : The string lights are IP44 Waterproof, allow you to use them both indoor and outdoor. However the power …
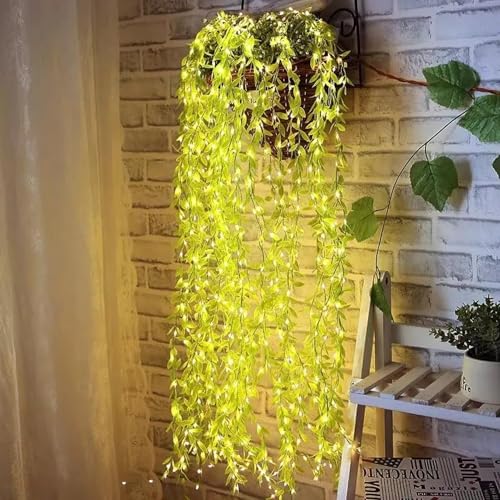
- Proper Size — When fully expanded, this greenery curtain lights measure 3×1 m. Power Cable Length 1meter
- Lighted Artificial Willow Vines — Featuring natural looking willow vines with led lights, this greenery design is perfe…
- Superior Material — High quality naturalistic look, very similar to real vines. Close to nature, widely use, durable fo…
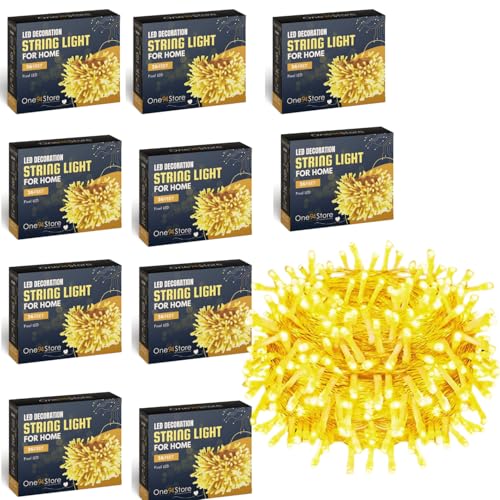
- 📦 Package Contains: 10 x 36 Ft LED Pixel String Lights (Warm White)
- 📏 36 Feet Long Strings – Perfect for decorating large spaces like walls, balconies, and gardens
- 💡 360° LED Bulbs – Emit bright, uniform light in every direction for full coverage
- diwali lights for decoraton for home , lights for home decoration , diwali decoration items for home , home decor items …
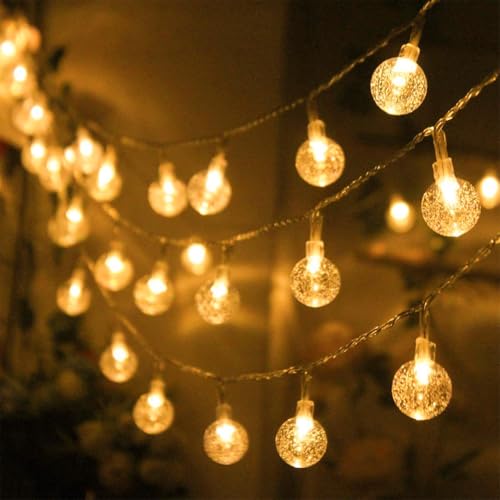
- Perfect fancy Crystal Bubble string lights for home decor – this high-brightness warm white 14 LED lights with romantic …
- Gorgeous and user-friendly design for multi-use – a total of 14 Crystal bubble ball 3 Meter in length, 14 LED light lamp…
- Waterproof indoor and outdoor decoration – Strip lights for home decoration with IP44 which makes this Crystal bubble ba…

- PACKAGE CONTAINS: 20 LED Cork Light (Warm White – Pack of 2)
- These lights comes with a 3 Months Warranty & Replacement. Do not worry about electrical problems, the use of power-savi…
- The wires and LED are IP44 waterproof. It can be used both indoor and outdoor without any worry of moisture, weather dam…

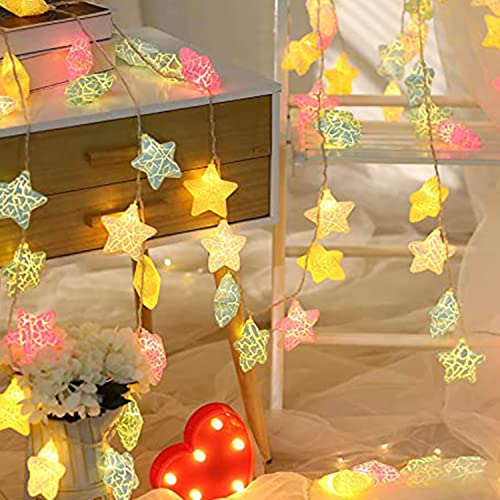
- 💡 360-Degree Bright Illumination with Pixel LED Star Lights – These AC-powered Star Fairy String Lights feature advanced…
- 💡 Premium Crystal-Clear Acrylic Stars for Radiant Glow -Each of the 14 Stars is crafted from crystal-clear acrylic that …
- 💡 Versatile Festive Lighting for Every Occasion – Perfect for Diwali lights for decoration for home, deepawali light, po…
- ✨Easy to Use- 19 Meter Wire with 66 LED Power Pixel bulbs and AC Electric plug ,Its Heavy Duty Led Pixel Light Bulb not …
- 🔌 Safe & Energy-Efficient Electric Corded Design – These Indoor & Outdoor Decorative Lights are equipped with a plug-in …
- 💡 Premium Quality Build – These fairy string lights or diwali ladi are made with durable copper wire and flexible ABS pl…
- Package include: 10 cork light with batteries, Each being 2 Meter long with 20 LED’s , (Bottle not included)
- Romantic warm white festival party wedding LED wine bottle lights copper wire LED string lights cork shaped
- Please remove insulating sheet for batteries to connect and start

- ⭐ Beautiful Artificial Leaf Design – Unique curtain fairy lights with 200 warm white LEDs on a 3x1M leafy string, perfec…
- ⭐ Remote Control with 8 Modes – Wall lights for home decoration, choose from twinkle, fade, steady-on & more, with memor…
- ⭐ Multi-Purpose Decoration – These led lights for decoration are ideal for home décor, weddings, parties, Diwali, Christ…
No products found.
Frequently Asked Questions
How long do fairy lights normally last?
LED fairy lights normally last roughly 25,000 to 50,000 hours, which means years of everyday use. Traditional bulbs burn out quickly, maybe lasting 1,000 hours. Battery-powered variants rely on usage and battery condition. Investing in excellent lights pays dividends long-term.
Can I leave fairy lights on all night safely?
LED fairy lights can often stay on all night as they don’t emit much heat. However, utilizing a timer is smarter for energy savings and bulb longevity. Always verify manufacturer recommendations. If the lights seem warm to the touch, certainly turn them off when sleeping.
What’s the ideal color temperature for bedroom fairy lights?
Warm white (2700-3000K) gives the coziest, most restful bedroom ambiance. Cool white feels too professional for sleeping spaces. Personally, I enjoy delicate amber or warm gold tones that feel like candlelight. Color-changing lights allow freedom to match your mood anytime!
Do fairy lights use a lot of electricity?
Not at all! LED fairy lights are highly energy-efficient, generally requiring less than 10 watts per strand. You’d pay merely pennies monthly even with nightly use. They’re way more economical than traditional lighting while creating a better ambiance. Battery-operated options consume even less overall.
How do I remove adhesive hooks without damaging walls?
Pull down slowly, following the removal directions on the package—usually stretching downward rather than pulling outward. Use a hairdryer to reheat the adhesive for easy removal. Go slow and steady. Clean any residue with rubbing alcohol or adhesive remover afterwards for a great finish.